Installing an aluminum fence not only enhances the security of your property but also adds a touch of elegance to your surroundings. If you’re considering a DIY installation, this step-by-step guide provides valuable tips to ensure a successful project. Follow these instructions to achieve a professional-looking result while saving on installation costs.
Materials and Tools
Before you begin, gather the necessary materials and tools to streamline the installation process:
Materials:
- Aluminum fence panels
- Fence posts
- Concrete mix
- Gravel
- Gate(s)
- Finials and decorative accessories
- Self-tapping screws
- Gate hardware
- String or twine
Tools:
- Post hole digger or auger
- Level
- Trowel
- Screwdriver
- Wrench
- Measuring tape
- String line level
- Rubber mallet
- Safety gear (gloves, safety glasses)
Step-by-Step Installation Guide
Planning and Layout
- Measure and mark the fence line, indicating the locations for each fence post and gate.
- Ensure the layout is square by measuring diagonally and adjusting until the measurements match.
Digging Post Holes
- Use a post hole digger or auger to dig holes for the fence posts. The depth and diameter should be according to the manufacturer’s specifications.
- Add a few inches of gravel to the bottom of each hole for drainage.
Installing Fence Posts
- Place a fence post in each hole, ensuring they are level both horizontally and vertically.
- Mix concrete according to the instructions and pour it into the holes around the posts.
- Use a level to adjust the posts and hold them in place until the concrete sets.
Attaching Fence Panels
- Once the posts are set, attach the aluminum fence panels to the posts using self-tapping screws.
- Ensure the panels are level and evenly spaced. Use a string line level to maintain consistency.
Installing Gates
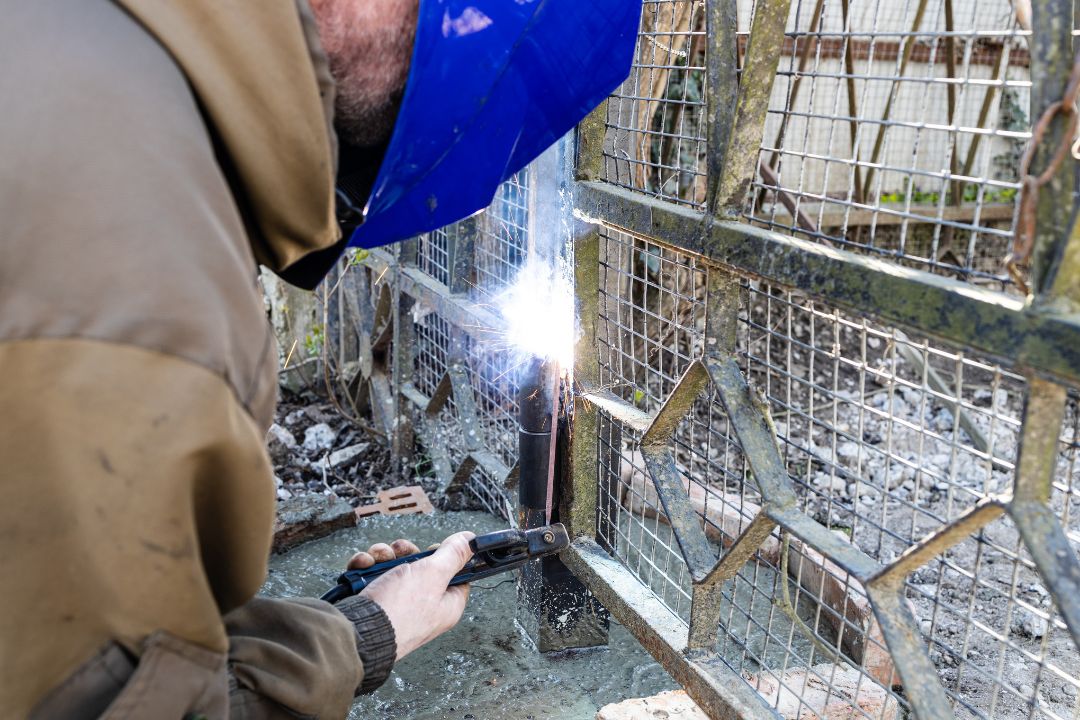
- If your fence includes gates, install them according to the manufacturer’s instructions.
- Use a rubber mallet to make adjustments and ensure proper alignment.
Adding Decorative Elements
- Attach any decorative elements such as finials or post caps according to your design preferences.
- Double-check the overall alignment and levelness of the fence.
Final Adjustments
- Walk around the entire fence, making any necessary adjustments to ensure it is level and visually appealing.
- Tighten all screws and bolts securely.
Finishing Touches
- Allow the concrete to cure completely before putting any additional stress on the fence.
- Consider applying a protective coating to the aluminum to enhance its longevity.
Tips for Success
- Follow the manufacturer’s instructions and guidelines throughout the installation process.
- Check local building codes and obtain any necessary permits before starting the project.
- Consider renting or borrowing tools if you don’t own them to ensure efficiency.
- Have an assistant for tasks that require an extra set of hands.
- Prioritise safety by wearing appropriate gear and using caution when working with tools and concrete.
By following this DIY installation guide and incorporating these tips, you can confidently install your aluminum fence, transforming your property with a stylish and secure enclosure.

